Introduction
This article discusses how to log into a Raspberry Pi Remote Desktop from a Windows machine and how to Remote Control a Raspberry Pi from a Windows machine.
Remote Desktop Raspberry Pi from Windows
Remote desktop allows you to log into a desktop (i.e. X-Windows session) on your Raspberry Pi. If you have the Raspberry Pi connected to a physical monitor, you will not be logging into that desktop, but a new desktop that will be dedicated to your remote desktop session. For instructions on how to remote control the Raspberry Pi from Windows, see the second half of the article.
Setup Raspberry Pi for Remote Desktop
- Startup the Raspberry Pi.
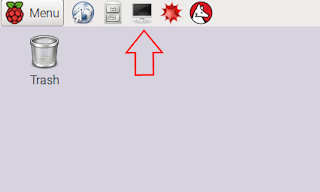
- Open a terminal prompt.
- Enter the following command to install xrdp (http://www.xrdp.org/):
sudo apt-get install xrdp
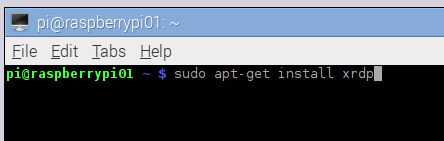
You may be prompted for your password (the default password for the Raspberry Pi is “raspberry”).
- Reboot the Raspberry Pi. The Remote Desktop Protocol server (xrdp sesman) should automatically start on reboot.
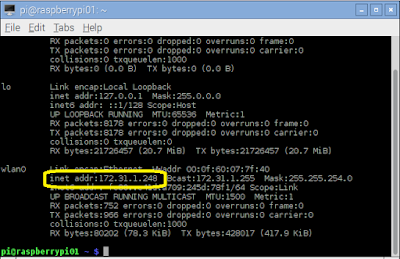
- Get the IP address of the Raspberry Pi. This can be done by executing the following command from a terminal prompt:
ifconfig
Connect From Windows Machine
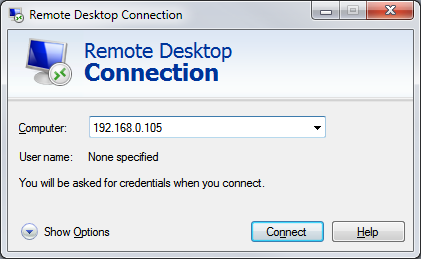
- Start the Remote Desktop Connection application.
- On Windows 7 click Start, All Programs, Accessories, Remote Desktop Connection.
- On Windows 10 click Start and enter Remote Desktop Connection.

- Enter the IP address of the Raspberry Pi in the “Remote Desktop Connection” dialog and click Connect.
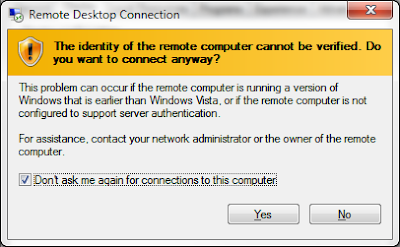
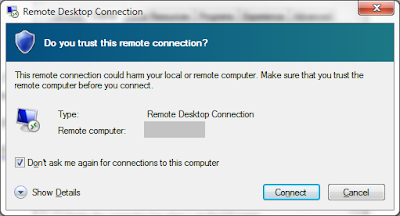
- When connecting you may see one or more of the following dialogs:

- Once connected, a login dialog will be displayed.
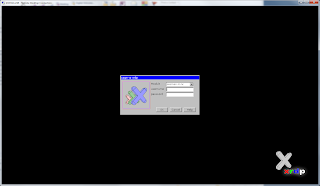
- Enter a username and password. The default Raspberry Pi username is pi and the default password is raspberry.
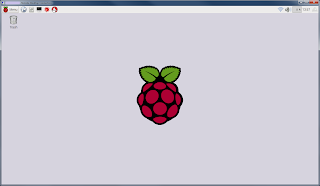
- Once you are logged in, you should see the Raspberry Pi desktop.
Remote Control Raspberry Pi from Windows
Remote controlling allows you to control the currently active desktop (i.e. X-Windows session) on your Raspberry Pi. With this technique, you can control (e.g. manipulate the mouse & keyboard) the desktop that is shown on the physical monitor that is connected to the Raspberry Pi.
Setup Raspberry Pi for Remote Desktop
- Startup the Raspberry Pi.
- Open a terminal prompt.

- Enter the following command to install x11vnc (http://www.karlrunge.com/x11vnc/):
sudo apt-get install x11vnc

- Enter the following command to set the vnc password. This is the password users will need to enter to remote control the desktop.
x11vnc –storepasswd

- You can test the x11vnc server by entering the following at a terminal prompt.
x11vnc –usepw

- You should see a message like the following on the terminal.
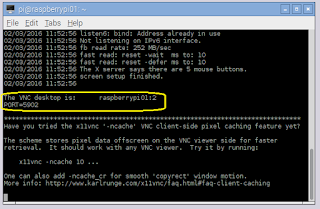
Connect From Windows Machine
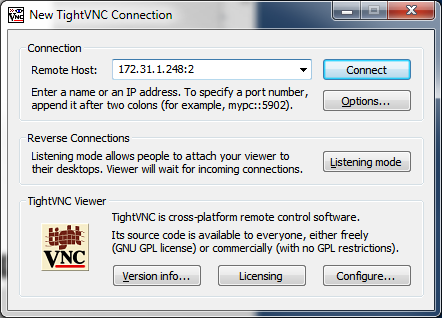
- Install a VNC client. In this example I use TightVNC Viewer (http://www.tightvnc.com/download.php).
- In the VNC client, enter the IP address of the Raspberry Pi followed by a “:” and the display number, which can be found terminal window running x11vnc (this will normally be a 0, but in our example above this is a 2).
- Enter the password that was used when setting up x11vnc.
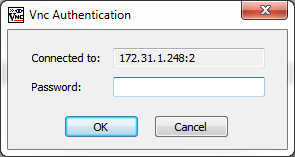
- You should now be able to see and interact with the Raspberry Pi desktop.
Automatically Startup x11vnc on the Raspberry Pi
- Create the directory
~/.config/autostart, if it does not already exist. This can be done using the following terminal command.
mkdir –p ~/.config/autostart

- Create a text file in this directory, called
xterm-autostart.desktop. You can create and edit this file with the following terminal command.
leafpad ~/.config/autostart/xterm-autostart.desktop

- Put the following text into this file.
[Desktop Entry]

Encoding=UTF-8

Name=x11vnc autostart

Comment=Starts the x11vnc server to allow for remote VNC connections.

Exec=x11vnc –forever -usepw

- Reboot the Raspberry Pi.
- Once the Raspberry Pi desktop appears, you should be able to remote control the Raspberry Pi using a VNC Client.


No comments:
Post a Comment